Introduction
This is a step by step guide for NetVizura application restore.
Restore procedure will restore the application's state previously saved by backup, such as database records, raw data files, MIB database and other relevant information.
Prerequisites
Make sure you have performed Backup procedure and saved all resulting files needed to restore your database and application properly.
Also, make sure that you have installed same version of NetVizura application, as the one you have saved during backup.
You can follow step-by-step installation instructions on NetVizura Windows Installation link.
Step 1: Database Restore
First you have to enable script execution by executing following command in PowerShell:
Set-ExecutionPolicy RemoteSigned
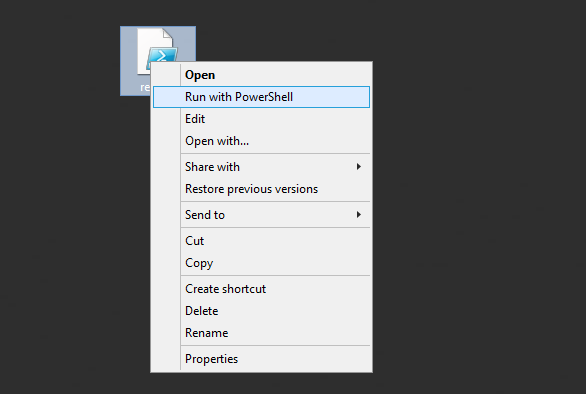
If you are not Administrator, run PowerShell with Run as administrator option from context menu.
Download and execute restore.ps1 script to restore database, as shown on image below.
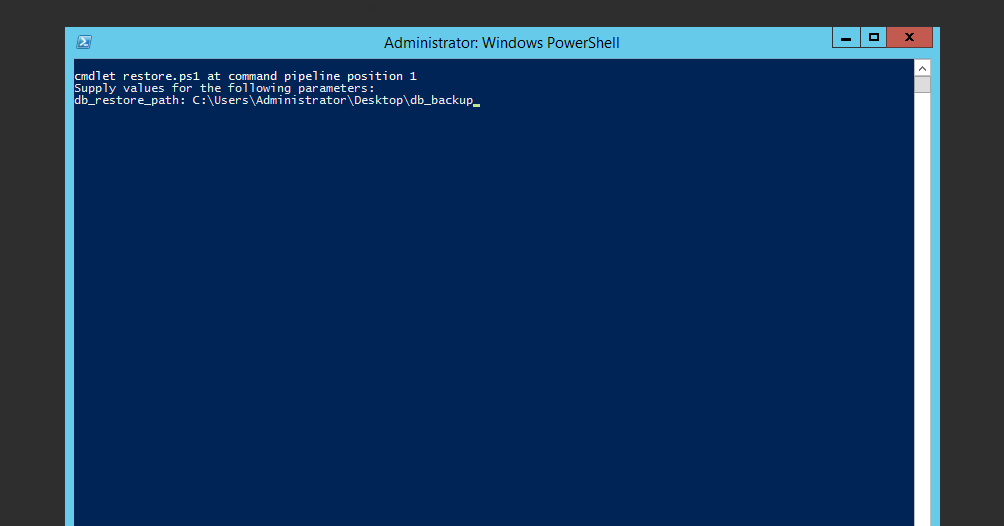
Enter db_backup folder location and press enter. See the image below.
Step 2: Restore install folder
Replace all installed files and directories in NetVizura folder with the files and directories saved during backup, except license directory.
Step 3: Restore archive (optional)
If you skipped Archive backup during Backup procedure, also skip this step.
Replace current archive directory folder with archive directory folder, saved during backup procedure.
Please make sure that path to NetFlow archive directory is correct.
You can check this by going to ![]() > Settings > NetFlow settings > Configuration under Archived files folder property
> Settings > NetFlow settings > Configuration under Archived files folder property
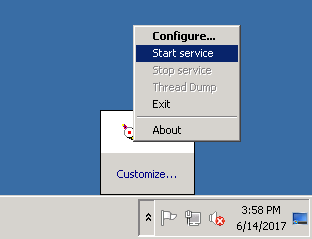
Step 4: Start Tomcat service
Finally, start Tomcat service. See the image below to see how it's done on Windows.
db_backup folder, in our example, was previously saved on C:\Users\Administrator\Desktop.