NetVizura needs dedicated server
For security reasons, make sure your server or VM has no software installed before installing NetVizura. Other software of services running on the same server can impact installation.
NetVizura needs correct time
Before installing NetVizura, make sure the time on your server is set correctly. Time change after the installation will invalidate the license!
NetVizura installation needs internet access
NetVizura requires an active internet connection to install the required dependent software. Once the installation is complete, you can disable internet access to the NetVizura server.
The following guide covers how to install NetVizura from the OVA image.
netvizura-x.y.z-linux.ova is a modified installation of the Ubuntu 20.04 Linux operating system. The OVA file provides a fast, easy way to install NetVizura and the operating system on your hypervisor.
NetVizura.ova includes the following software packages:
- Ubuntu 20.04 iso;
- various dependency packages: sudo, java, Tomcat8, postgresql10-server, Elasticsearch 8;
- NetVizura's latest deb installation package.
Installation Steps
Step 1: Download the NetVizura OVA Image from the NetVizura website.
Inside your ESX server, choose Create/Register VM, then Deploy a virtual machine from an OVF or OVA file. Enter the name for NetVizura VM and drag/drop or select the OVA file from your computer. Choose a datastore for the VM to reside on, and on the next tab, configure network and disk options.
The machine should now be created from the .ova file and imported. The machine is configured with 2 vCPUs, 4GB of RAM, and a 50GB disk.
Step 2: Start the machine
Power on the machine. You will be greeted with a black screen with a link to your NetVizura Installation:

The hostname for your new machine is netvizura-demo, and the credentials are demo for the username and netvizura for the password.
Step 3: Additional network configuration
If you just want to change the IP address of the NetVizura server, all you need to do is edit /etc/netplan/01-netcfg.yaml file, with the following example:
Ubuntu network configuration
network:
version: 2
ethernets:
ens18:
dhcp4: no
addresses: [172.16.3.211/25]
gateway4: 172.16.2.1
nameservers:
addresses: [172.16.0.254,9.9.9.9]
Restart the machine after the network change.
OVA file is set up with the London timezone. If you wish to change it, you can do it with this command:
sudo timedatectl set-timezone Asia/Tokyo
You can list available timezones with :
sudo timedatectl list-timezones
Step 4: Verify installationNow you can go to the NetVizura web interface http://<netvizura_server_ip>:8080/netvizura. Default login credentials: For example, if your server IP is 1.1.1.1, then point your browser to http://1.1.1.1:8080/netvizura, like in the screenshot below: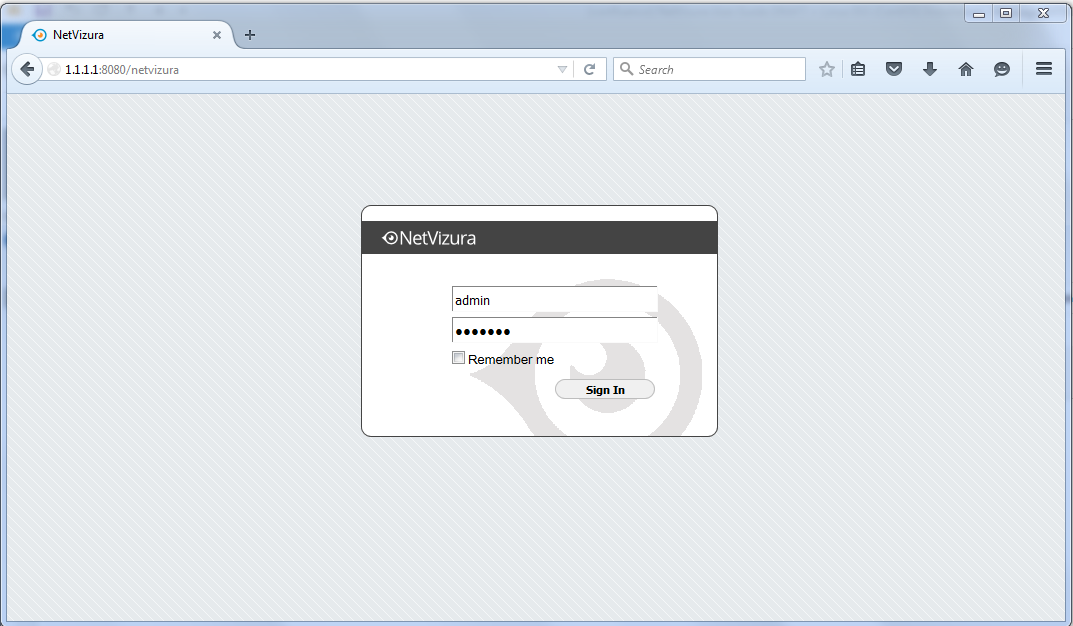
Post Install Steps
See the post-install steps in the article Linux Ubuntu Installation.
Extending root partition with another disk
First, check your system as root. Should be done like this:
root@netvizura-demo:~# pvs;vgs;lvs
PV VG Fmt Attr PSize PFree
/dev/sda1 netvizura-demo-vg lvm2 a-- <50.00g 0
VG #PV #LV #SN Attr VSize VFree
netvizura-demo-vg 1 2 0 wz--n- <50.00g 0
LV VG Attr LSize Pool Origin Data% Meta% Move Log Cpy%Sync Convert
root netvizura-demo-vg -wi-ao---- <49.04g
swap_1 netvizura-demo-vg -wi-ao---- 980.00m
After you add your disk, let's say 200 GB, you can search the new disk with the fdisk -l command, and the new disk will be similar to this:
Disk /dev/sdb: 200 GiB, 214748364800 bytes, 419430400 sectors
Disk model: HARDDISK
Units: sectors of 1 * 512 = 512 bytes
Sector size (logical/physical): 512 bytes / 512 bytes
I/O size (minimum/optimal): 512 bytes / 512 bytes
Then you just type these four commands, and you will extend the root partition:
pvcreate /dev/sdb
vgextend netvizura-demo-vg /dev/sdb
lvextend -l +100%FREE /dev/mapper/netvizura--demo--vg-root
resize2fs /dev/mapper/netvizura--demo--vg-root