The following guide shows how to install CentOS-6.5 with NetVizura.
netvizura-x.y.z-linux.iso is a modified installation of CentOS-6.5-x86_64-Minimal.ISO Linux operating system. The ISO provides fast and easy way to install NetVizura and operating system on your virtual or hardware machine.
CentOS.6.5-NetVizura.iso includes following software packages:
NetVizura Installation Steps
Step-by-step guide:
1. Select Auto-Installer
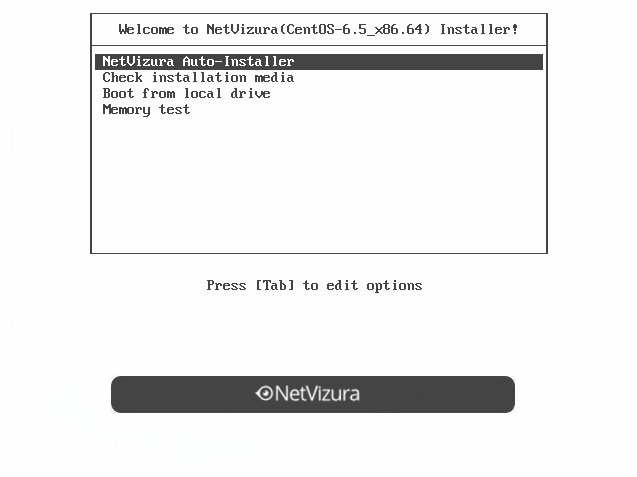
On this screen choose "NetVizura Auto-installer" option and press Enter.
This will lead you to complete installation of NetVizura software with all necessary software dependency packages.
2. Configure network
On the following "Configure TCP/IP" screen you can set up the network subsystem.
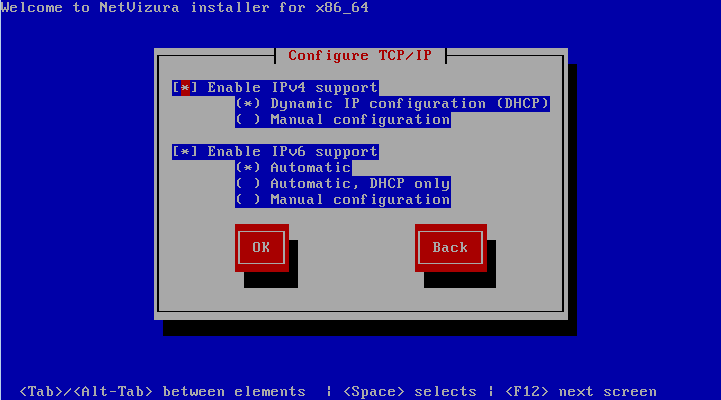
- Select IP version support option (either Enable IPv4 support or Enable IPv6 support)
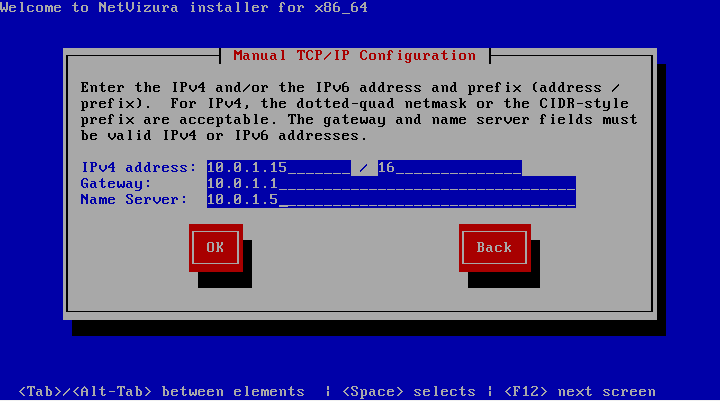
- Select suboption:
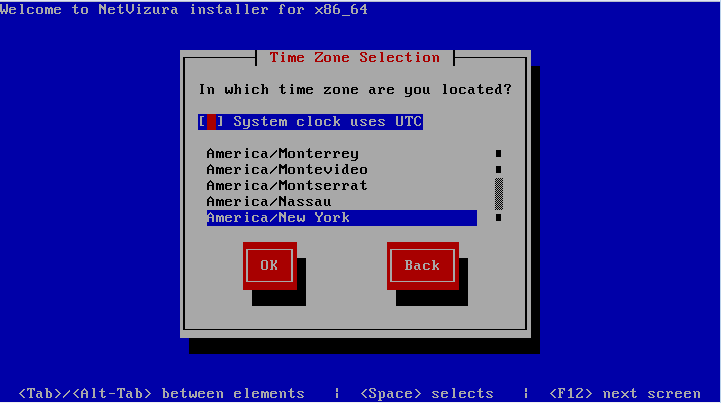
3. Choose your zone
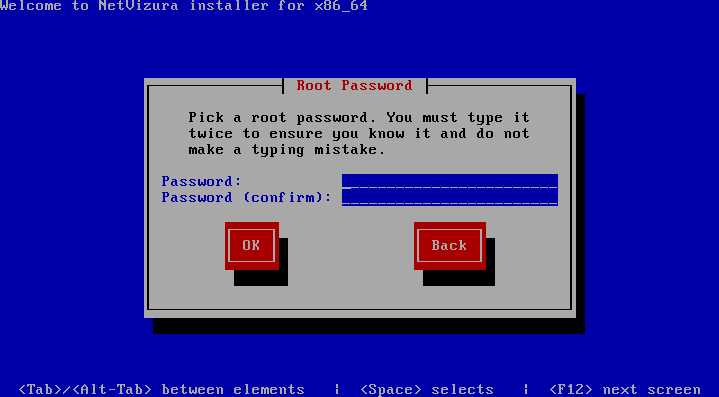
4. Choose Root Password
- Insert your root password
- Confirm your password and press Enter.
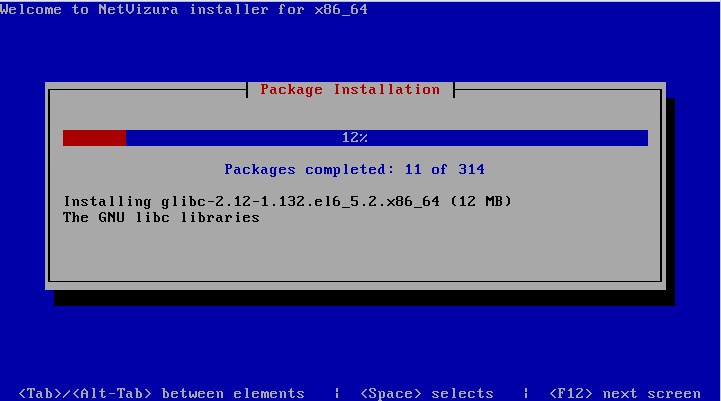
5. Wait for package installer to complete the installation.
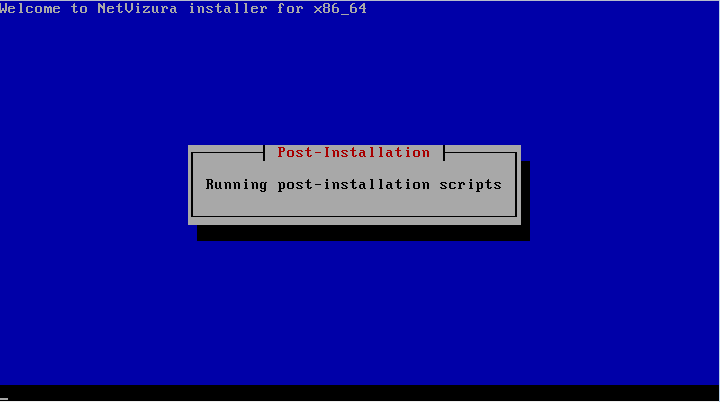
6. Post installation scripts will automatically install NetVizura RPM package.
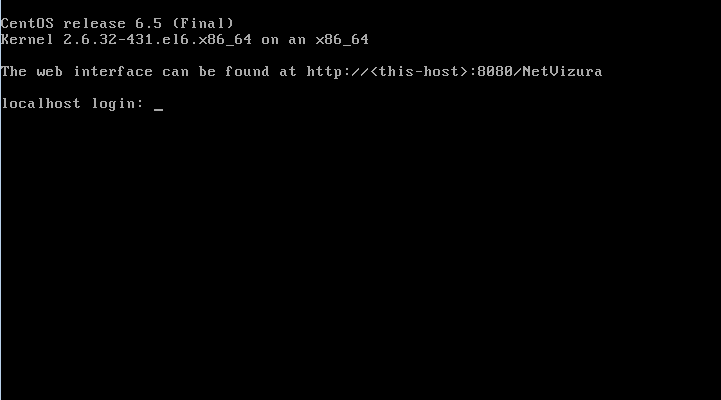
7. Automatic booting into CentOS.6.5 with NetVizura software

8. After boot the following screen will appear
9. Access your web interface
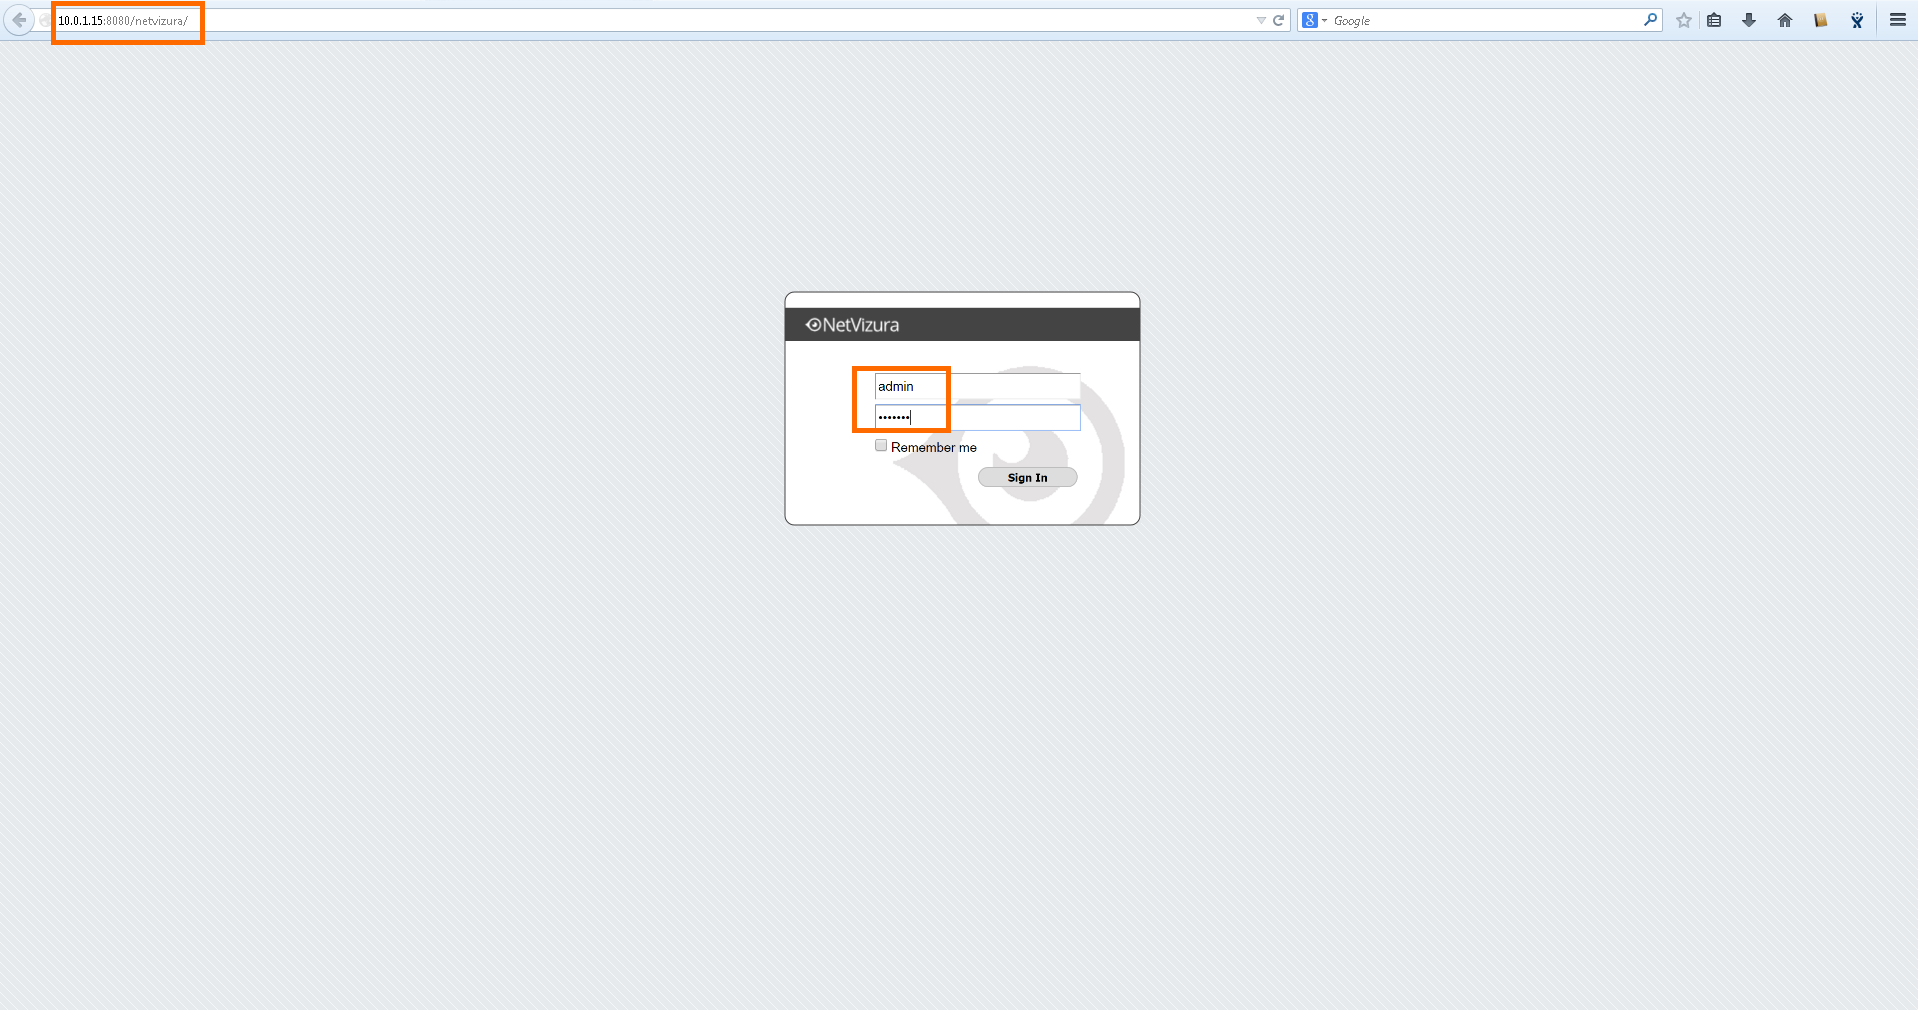
Now you can log in to NetVizura web interface. For example, if you have chosen as the IP of your server 10.0.1.15 point your browser to http://10.0.1.15:8080/netvizura like in the screenshot below:
Default credentials:
- Username: admin
- Password: admin01
Post Install Steps
See Post install steps in article Linux RPM (CentOS) Installation.