The following guide shows how to install CentOS-6.5 with NetVizura.
netvizura-x.y.z-linux.iso is a modified installation of CentOS-6.5-x86_64-Minimal.ISO Linux operating system. The ISO provides fast and easy way to install NetVizura and operating system on your virtual or hardware machine.
CentOS.6.5-NetVizura.iso includes following software packages:
NetVizura Installation Steps
Step-by-step guide:
Step 1: Select Auto-Installer
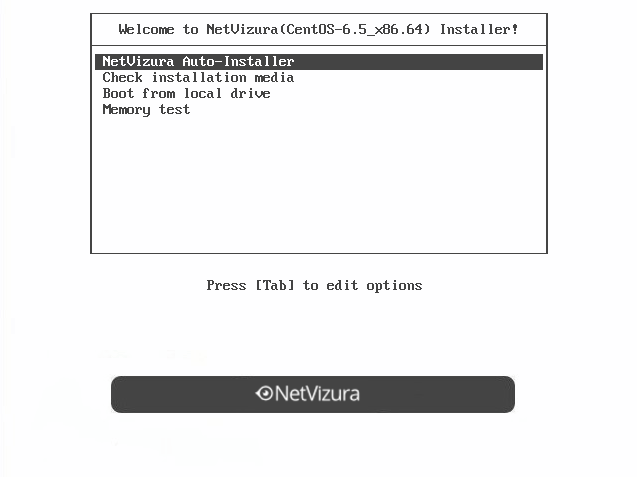
On this screen choose "NetVizura Auto-installer" option and press Enter.
This will lead you to complete installation of NetVizura software with all necessary software dependency packages.
Step 2: Configure network
On the following "Configure TCP/IP" screen you can set up the network subsystem.
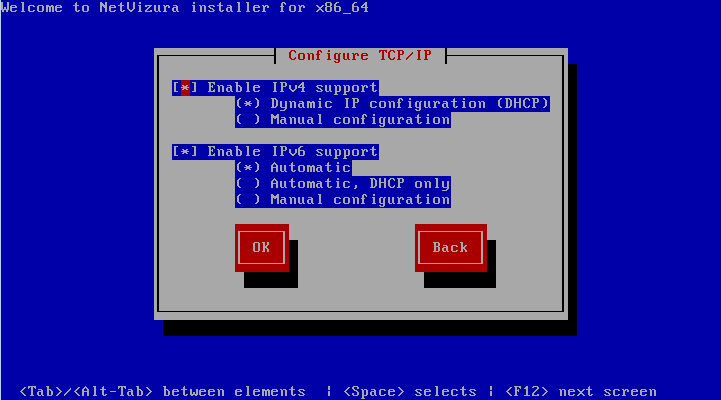
- Select IP version support option (either Enable IPv4 support or Enable IPv6 support)
- Select suboption:
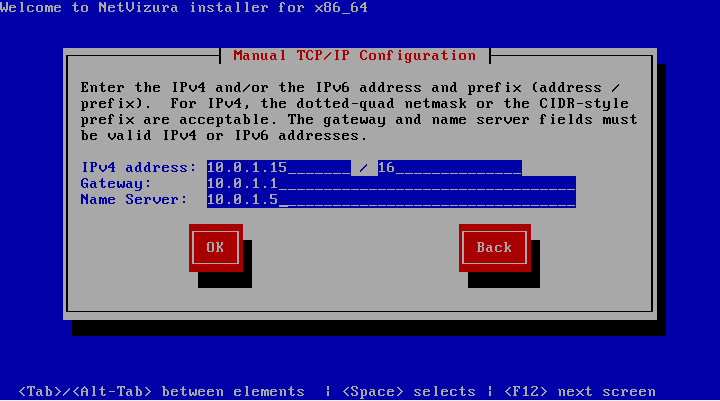
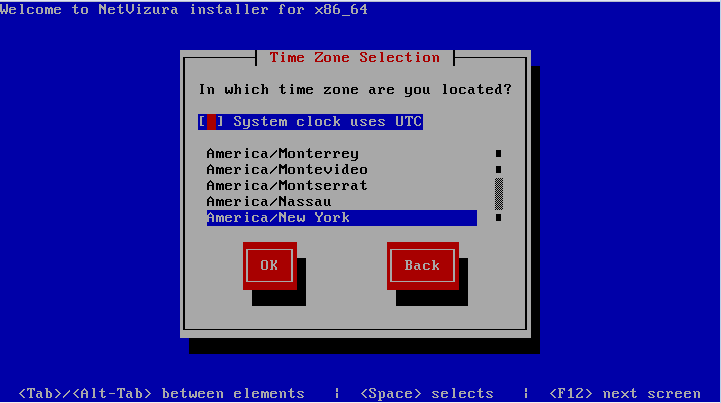
Step 3: Choose your zone
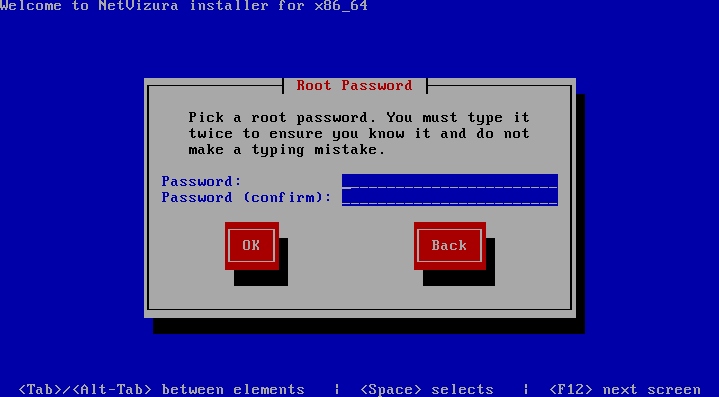
Step 4: Choose Root Password
- Insert your root password
- Confirm your password and press Enter.
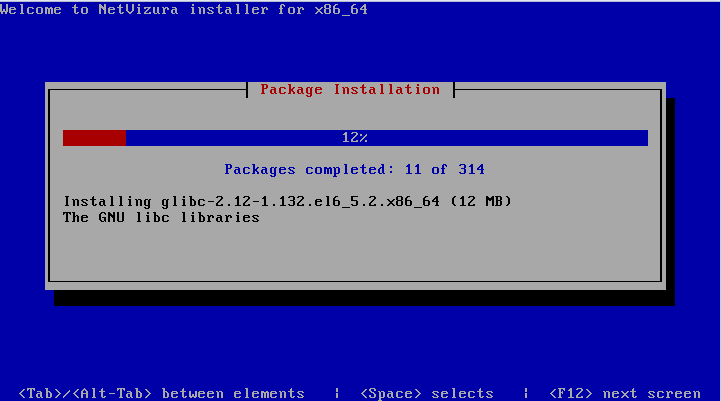
Step 5: Wait for package installer to complete the installation.
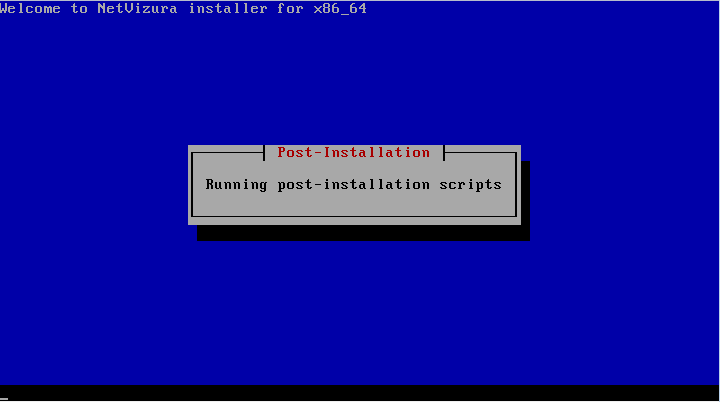
Step 6: Post installation scripts will automatically install NetVizura RPM package.
Step 7: Automatic booting into CentOS.6.5 with NetVizura software
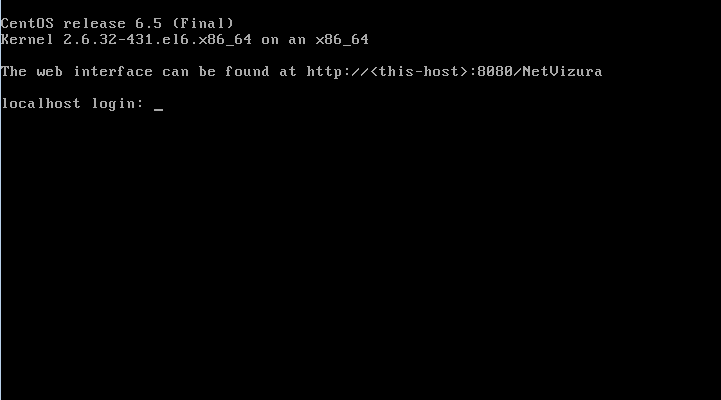
Step 8: After boot the following screen will appear
Step 9:
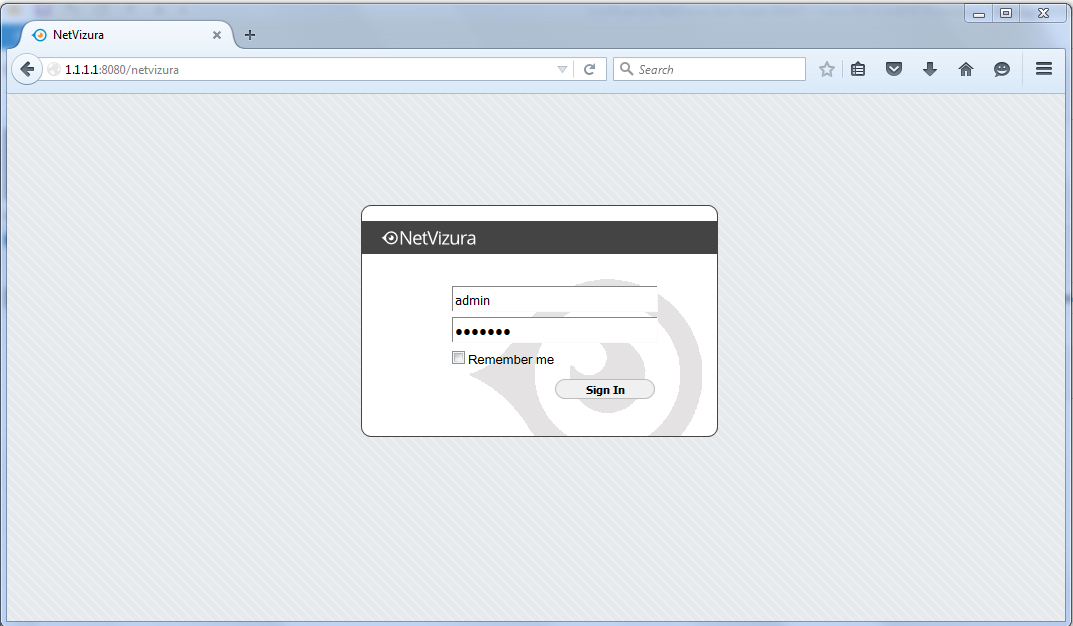
Now you can go to NetVizura web interface http://<netvizura_server_ip>:8080/netvizura.Default login credentials:
- Username: admin
- Password: admin01
For example, if your server IP is 1.1.1.1 then point your browser to http://1.1.1.1:8080/netvizura like in the screenshot below:
Post Install Steps
See Post install steps in article Linux CentOS Installation.