Due to security reasons, make sure that your server or VM doesn't have anything installed on it before NetVizura installation. Other software of services running on the same server can impact installation. |
Before installing NetVizura make sure to set the time on your server correctly. Time change after the installation will invalidate the license! |
NetVizura requires working connection to the internet to install required dependent software. Once the installation is successfully conducted, you can turn off internet access for NetVizura server. |
The following guide discusses installation of NetVizura from the ISO image.
netvizura-x.y.z-linux.iso is a modified installation of Ubuntu 20.04 Linux operating system. The ISO provides fast and easy way to install NetVizura and operating system on your virtual or hardware machine.
NetVizura.iso includes following software packages:
- Ubuntu 20.04 iso;
- various dependency packages: sudo, java, Tomcat8, postgresql10-server, Elasticsearch 7;
- NetVizura latest deb installation package.
Installation Steps
Step 1: Download NetVizura ISO Image from NetVizura website and upload it to your hypervisor image repository (VMware, XEN, Proxmox...).
|
Step 2: Select Install NetVizura Server
First screen shows the following options:
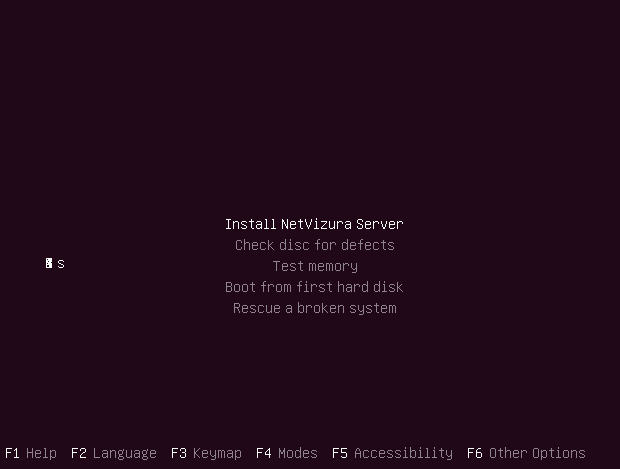
On this screen choose "Install NetVizura Server" option and press Enter. (The Installer will automatically select this if nothing is pressed in 5 seconds)
This will lead you to complete installation of NetVizura software with all necessary software dependency packages.
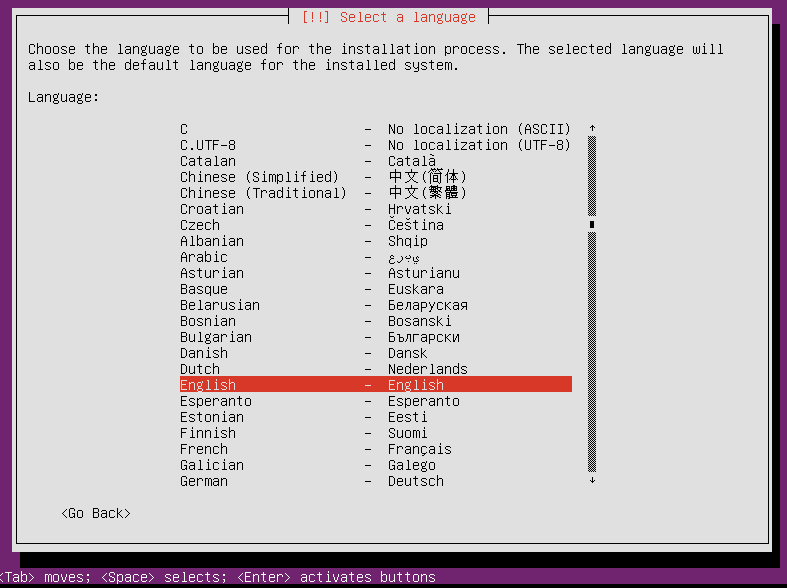
Step 3: Configure language
On the following "Select a language" screen you can set up the language for your system.
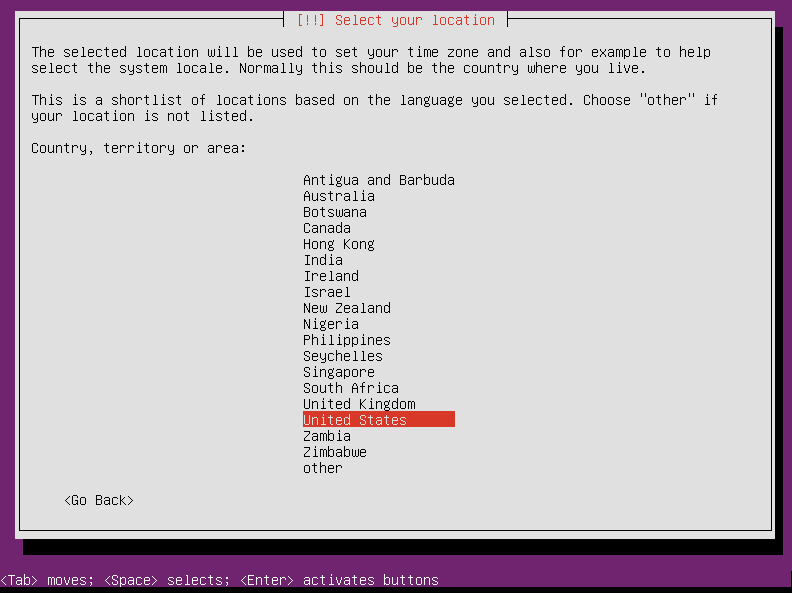
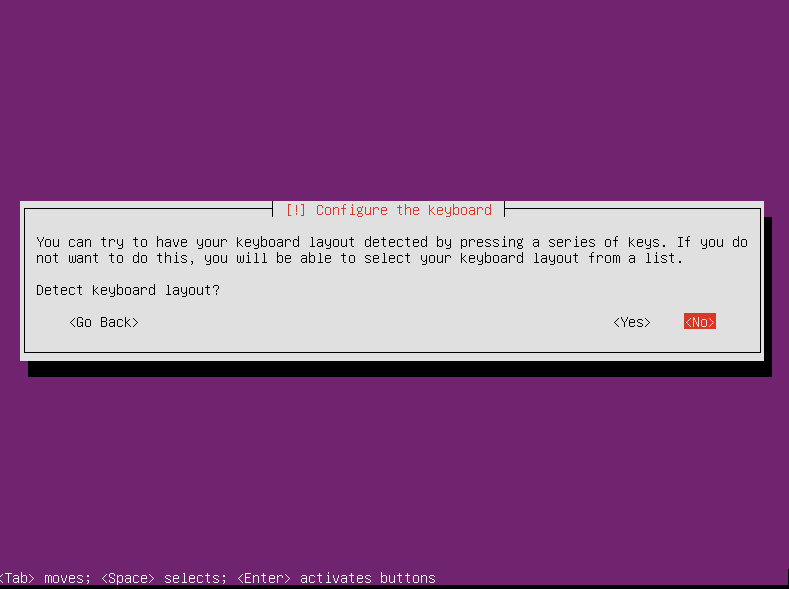
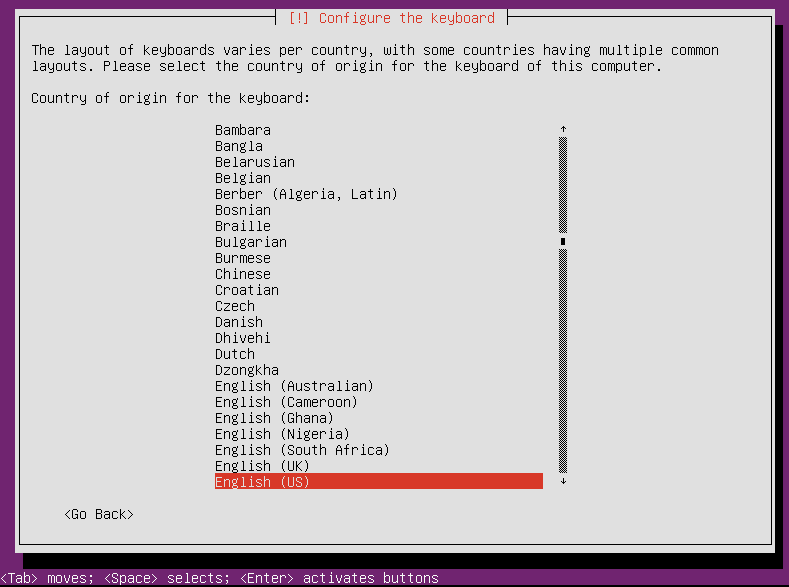
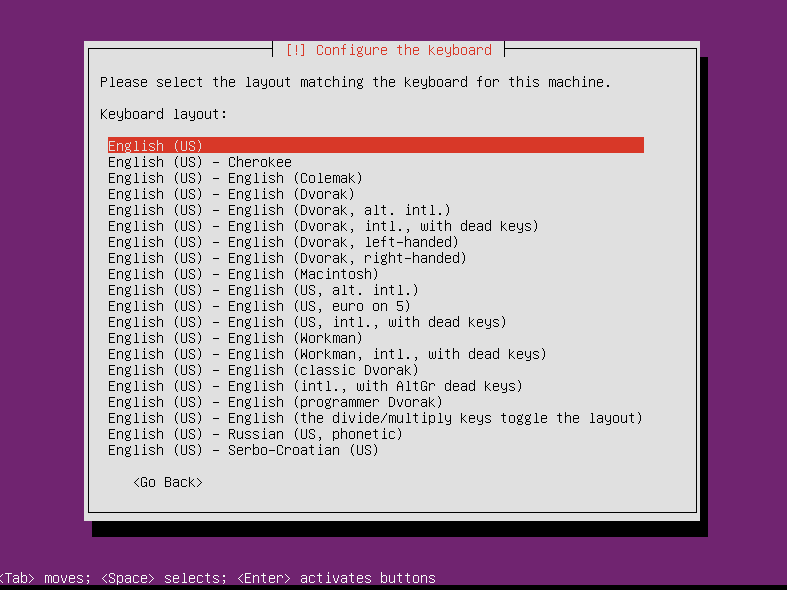
Step 4: Configure the keyboard
On the next 3 screens you should configure keyboard for the system.
Step 4a: Network configuration
In case you didn't configure your machine with DHCP, this screen will follow you through few options for configuring network.
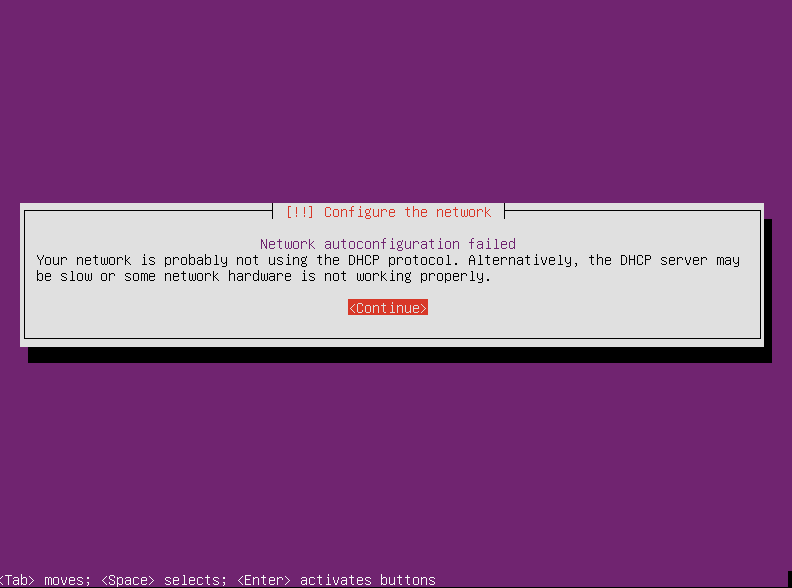
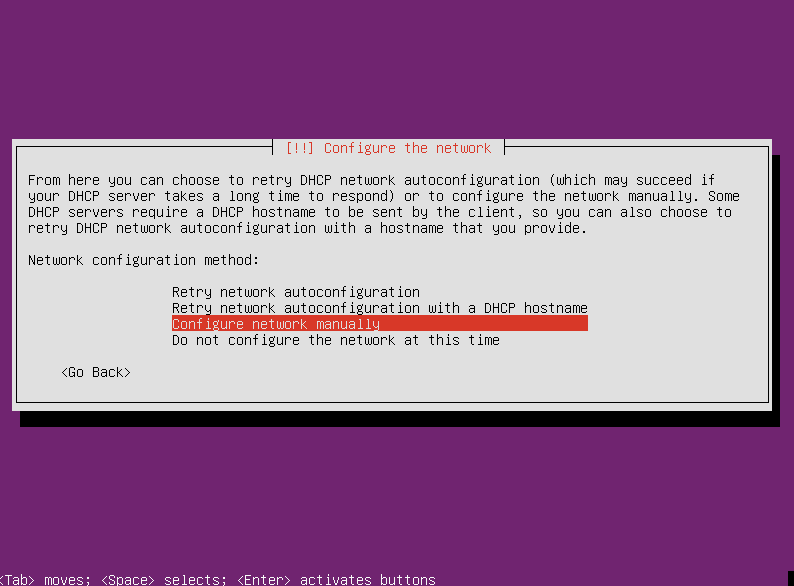
You can always configure network later from cmd line.
Step 5: Finish and restart
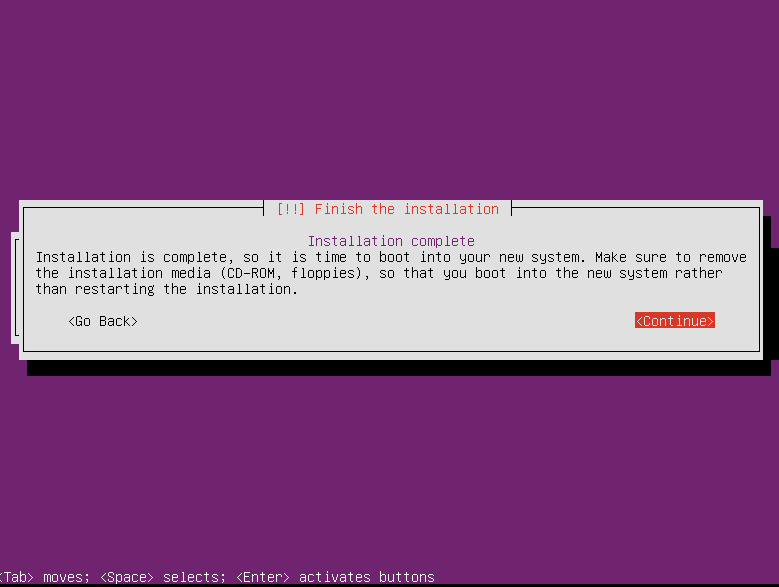 When the basic installation is complete, eject your installation media (cd-rom, flash, etc) and restart the machine
Step 6: Post installation
After OS installation, NetVizura autoinstall will automatically install .deb package and configure it. After that installation finishes (in the background), you will be greeted with black screen with link to your NetVizura Installation:

Hostname for you new machine is netvizura-demo,and credentials are demo for the username,and netvizura for password.
Step 6a: Additional network configuration
If in step 4a you chose not to configure network, or you just want to change ip address of NetVizura server, all you need to do is edit /etc/netplan/01-netcfg.yaml file, with the following example:
network: version: 2 ethernets: ens18: dhcp4: no addresses: [172.16.3.211/25] gateway4: 172.16.2.1 nameservers: addresses: [172.16.0.254,9.9.9.9] |
Step 7: Verify installation
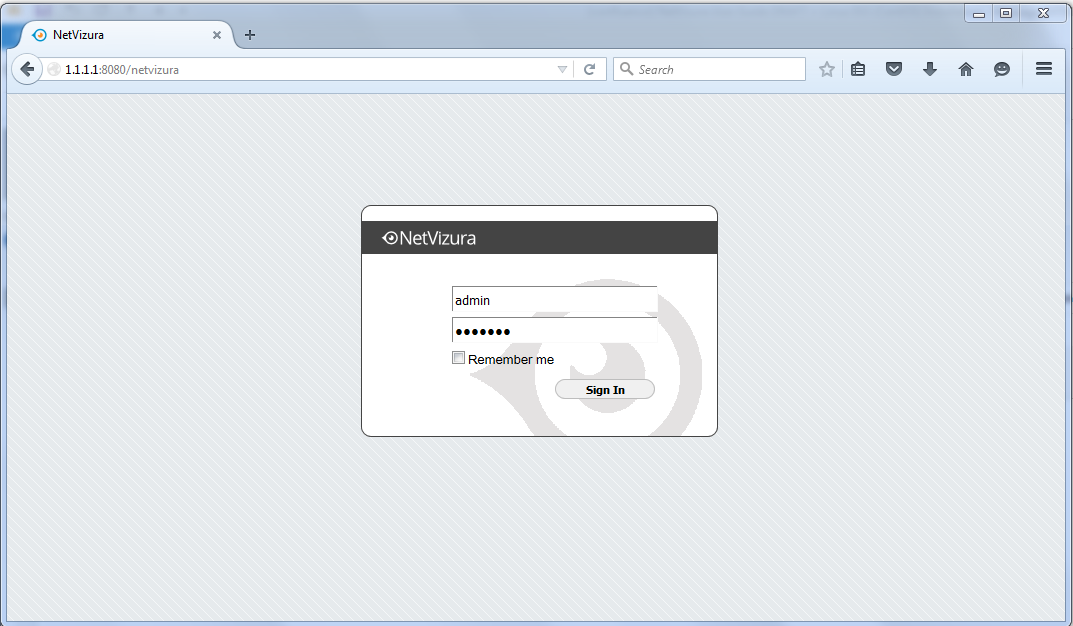
Now you can go to NetVizura web interface http://<netvizura_server_ip>:8080/netvizura. Default login credentials:
For example, if your server IP is 1.1.1.1 then point your browser to http://1.1.1.1:8080/netvizura like in the screenshot below:
|
Post Install Steps
See Post install steps in article Linux Ubuntu Installation.
|
