The following guide shows how to install CentOS-6.5 with NetVizura.
netvizura-x.y.z-linux.iso is a modified installation of CentOS-6.5-x86_64-Minimal.ISO Linux operating system. The ISO provides fast and easy way to install NetVizura and operating system on your virtual or hardware machine.
CentOS.6.5-NetVizura.iso includes following software packages:
- CentOS-6.5-x86_64-Minimal.ISO: http://wiki.centos.org/Manuals/ReleaseNotes/CentOSMinimalCD6.5;
- various dependency packages: sudo, Java-jdk-7u51-linux-x64, Tomcat6, postgresql93-server;
- NetVizura RPM installation package.
If you are installing on VM by using hypervisor:
- Some hypervisors can bypass boot scripts using its own OS installation rules from selected templates.
- When you create VM for netvizura-x.y.z-linux.iso, do not use any hypervisor templates which refer to some OS.
- Select Other from selection menu, attach netvizura-x.y.z-linux.iso on virtual CD controler and boot ISO straight from virtual CD.
- If Welcome screen (shown in the first step below) appears during boot, then the installation is properly launched.
NetVizura Installation Steps
Step-by-step guide:
Step 1: Select Auto-Installer
First screen shows the following options:

On this screen choose "NetVizura Auto-installer" option and press Enter.
This will lead you to complete installation of NetVizura software with all necessary software dependency packages.
Step 2: Configure network
On the following "Configure TCP/IP" screen you can set up the network subsystem.
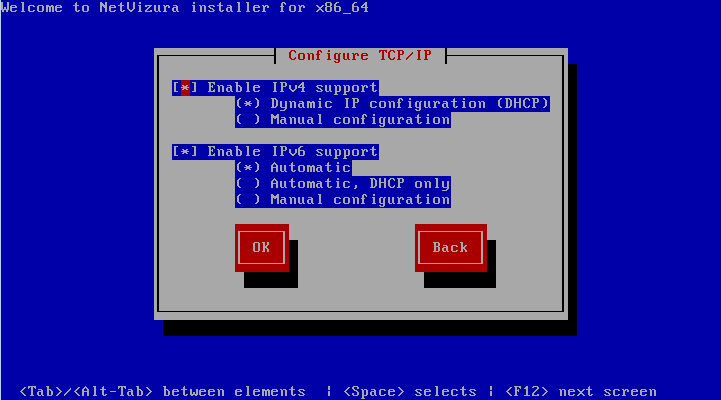
- Select IP version support option (either Enable IPv4 support or Enable IPv6 support)
- Select suboption:
- Dynamic IP configuration (DHCP): Choose this option if you have DHCP server in your network and wait for NetworkManager to configure your network interface.
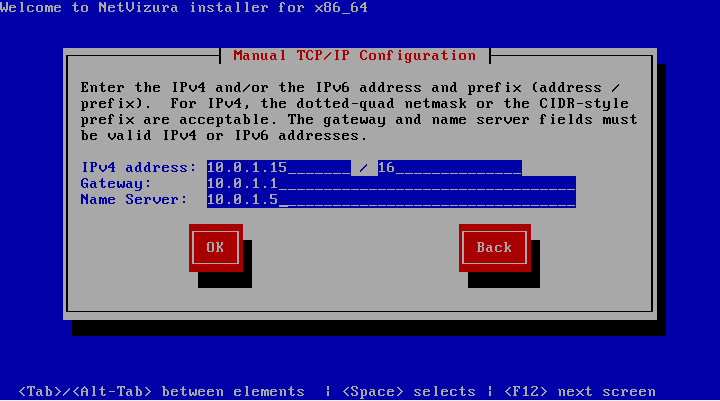
Manual configuration: Choose this option for manual network configuration
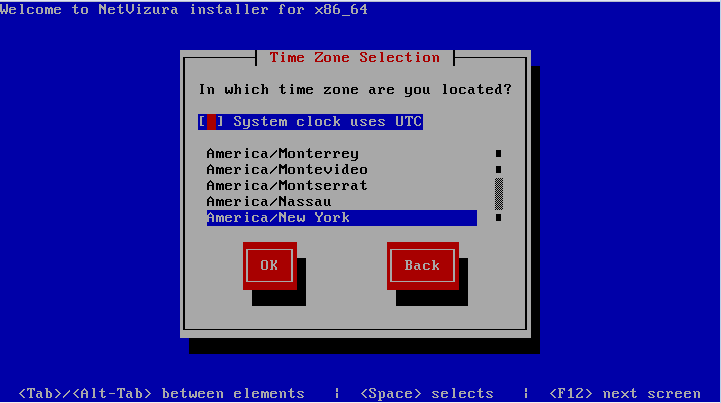
Step 3: Choose your zone
Be sure to set time correctly:
It is very important to set the correct UTC time in your BIOS setup because traffic analysis, charts and logs depend on it.
Also, set the time before installation. Time change after the installation will invalidate the license!
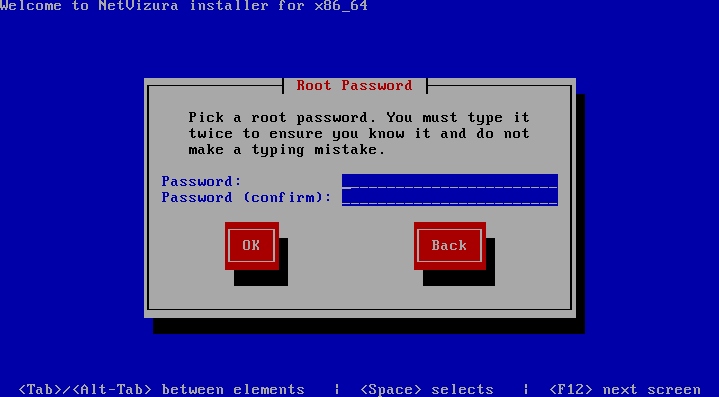
Step 4: Choose Root Password
- Insert your root password
- Confirm your password and press Enter.
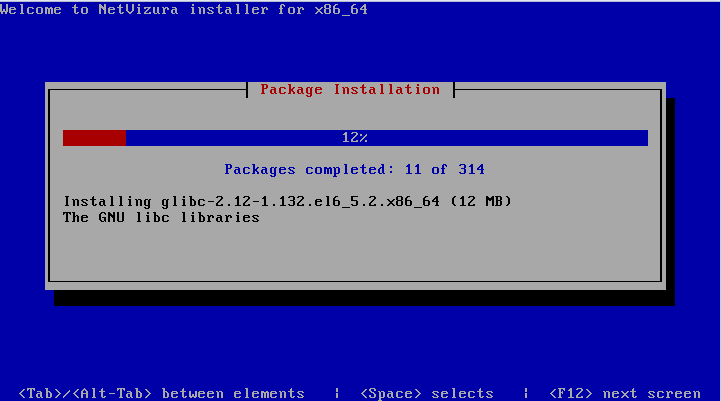
Step 5: Wait for package installer to complete the installation.
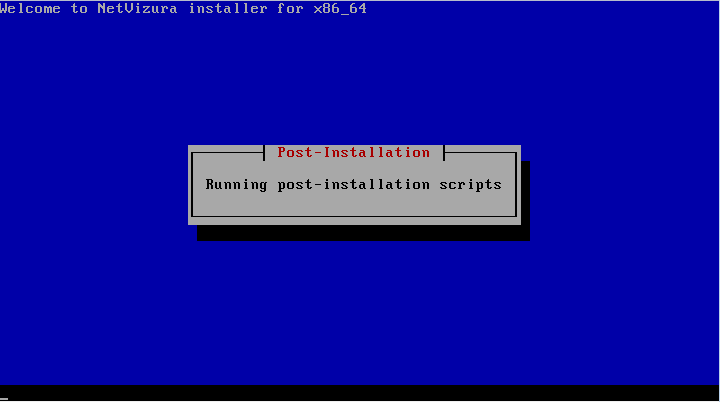
Step 6: Post installation scripts will automatically install NetVizura RPM package.
Step 7: Automatic booting into CentOS.6.5 with NetVizura software

If you are installing on VM by using hypervisor:
Some hypervisors like xencenter will not run automatic booting. You will be prompted again in welcome screen and asked to choose an option. Now, you should choose option "Boot from local drive":

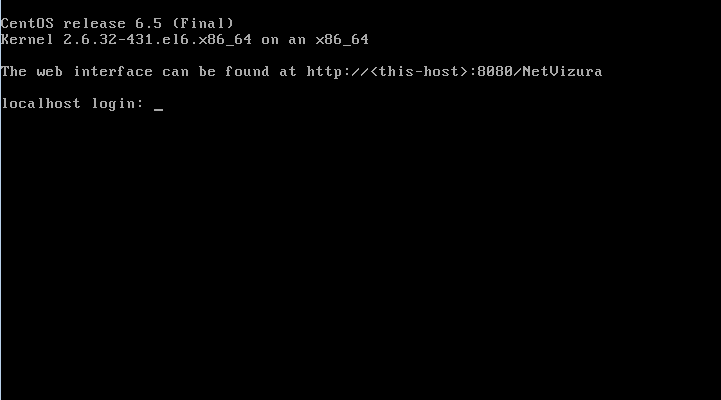
Step 8: After boot the following screen will appear
Step 9: Verify installation
Now you can go to NetVizura web interface http://<netvizura_server_ip>:8080/netvizura. Default login credentials: For example, if your server IP is 1.1.1.1 then point your browser to http://1.1.1.1:8080/netvizura like in the screenshot below:
Post Install Steps
See Post install steps in article Linux CentOS Installation.
- Use Tab, arrows or Page Up/Down to move between options
- Use Space to confirm the selection